
I used to have a set of transfers for the 5th Edition Undead army, but they are long gone and have been out of production for a decade or so. GW has just started to bring back water-slide transfers, but so far has only released sheets for High Elves and 40k.
So I set about making my own. I have been asked to provide a tutorial, but to be honest the process has been rather fraught with trial and tribulation, so this is more of a cautionary tale.
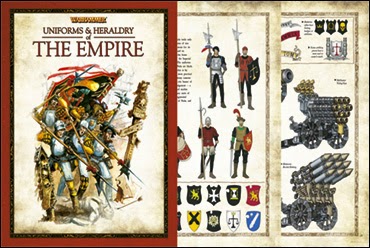
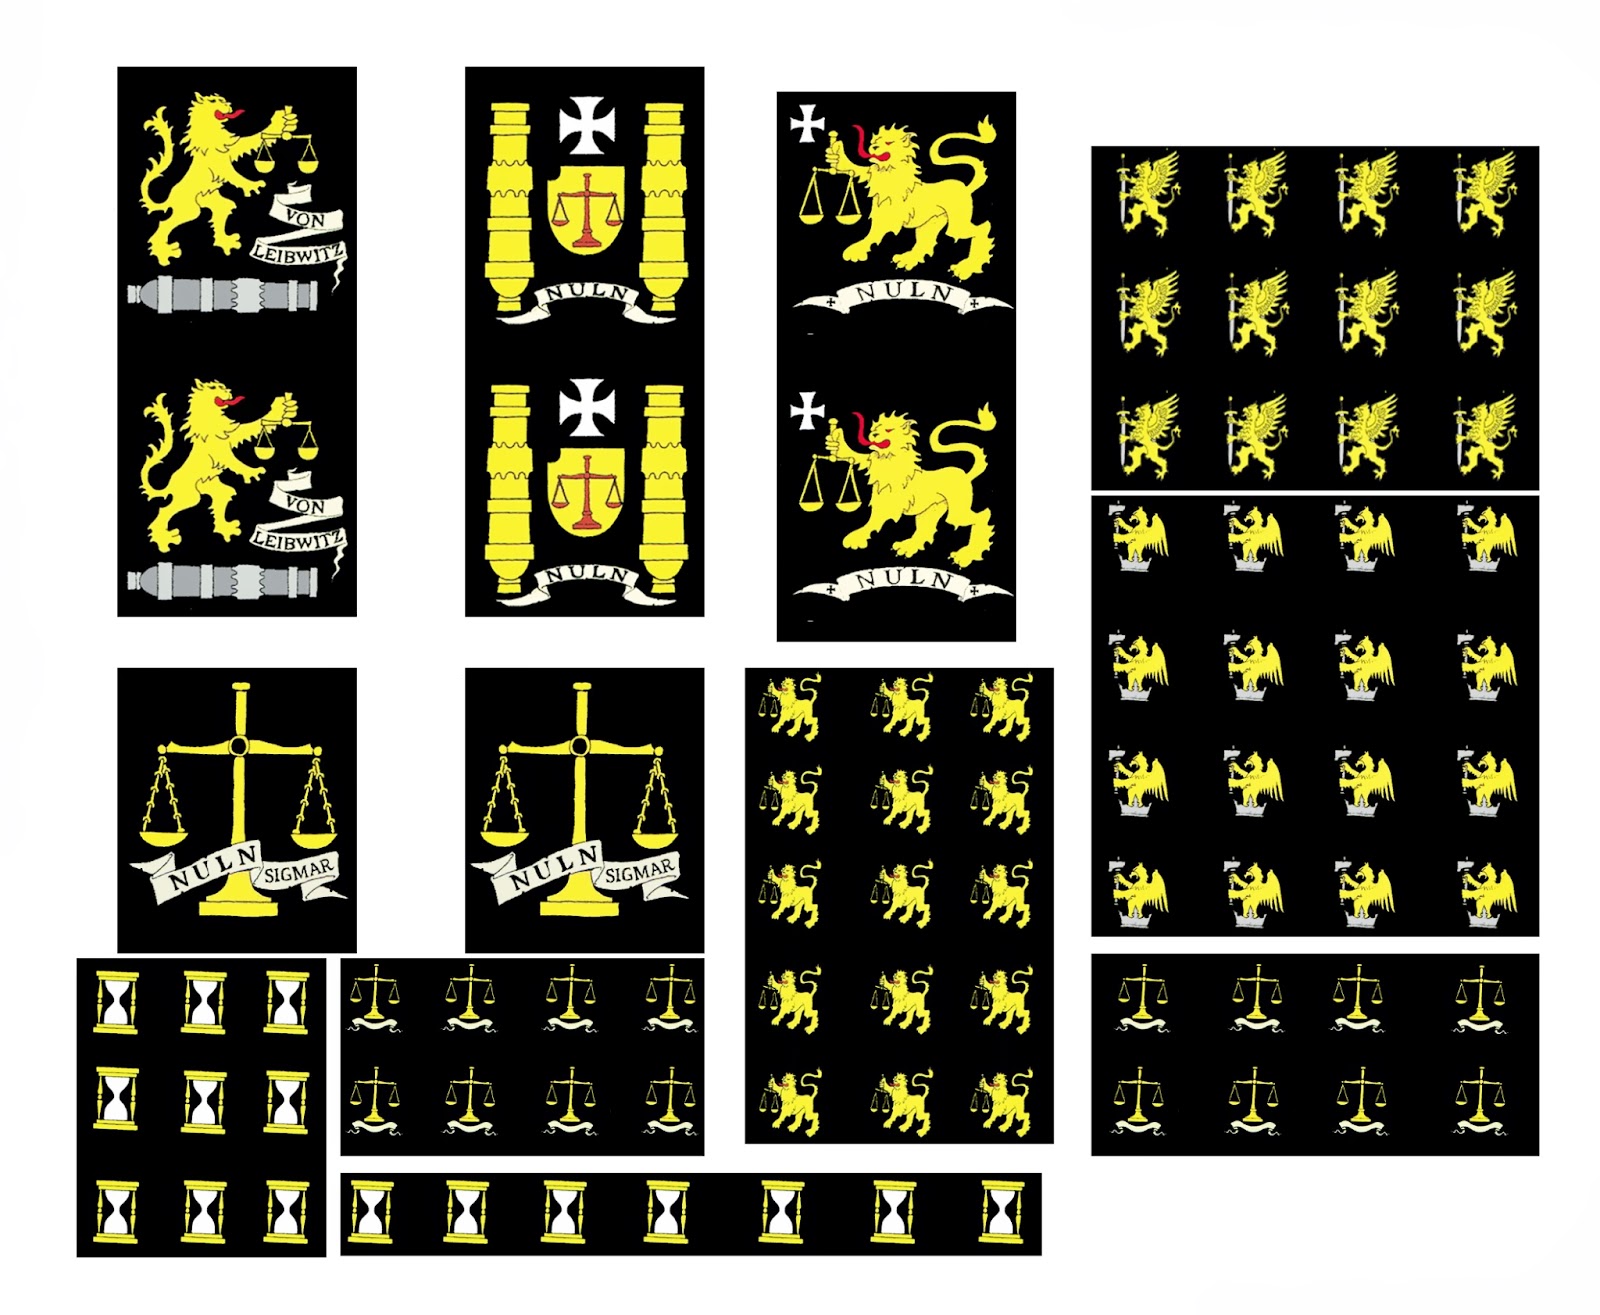
First up, you will want either some digital source material or some sweet design skills. I own a copy of Uniforms & Heraldry of the Empire, so all I did was scan the Nuln pages onto my computer.
Next, you will want some kind of editing software. I used Photoshop. I needed to clearcut and touch-up the images, as well as collate them into one sheet.
Once I had the file ready, it was time to print!

I sourced some water-slide transfer paper from a New Zealand supplier called The Train Depot, who provide very prompt and helpful service.
There are two types of paper options - Inket and LaserJet.
I initially bought LaserJet paper, but when I tried to print I realised it was just melting in the printer, so I had to order another supply of Inkjet paper. My advice would be to make sure you know what sort of paper you need to get! The Train Depot will be able to help you out with this.
Once printed, I excitedly applied the decal to my knight's shield... only to discover with horror that it could not even be seen. This was my second mistake.
 |
| Ruh-roh |
If you are applying transfers over a lightly coloured surface, clear transfer paper will be the way to go.
So here is version two of the decal sheet printed on white paper;
With Inkjet paper you need to apply sealant of some kind, like Crystal Kote, to stop the image from flaking. I applied three coats.

When this had thoroughly dried I cut out one of the icons to add to the shield. I found the best results by cutting as close to the shape of the design as possible. I prepared the surface of the shield by painting on some Lahmian Medium. Once this was dry, I put the cut-out transfer in a shallow dish of warm water until it came loose.
For the direct application of the decal, I followed this excellent tutorial by Sholto of the Incunablog, applying MicroSet to the surface, and then carefully sliding the transfer from the paper to the surface with a paint brush.

Once this was positioned, and the excess moisture dabbed up with a paper towel, I left it to dry. Later I liberally applied some MicroSol, which dissolved the transfer film leaving the design on the surface fully conformed to the slopes and edges (particularly important on wavy banners).
When this had dried, I touched up the transfer with some Abaddon Black to tie it in with the background.
So there you have it! I hope this cautionary tale has allowed you to avoid some of the pitfalls I came across, and ultimately add some cool details to your army.

No comments:
Post a Comment